Most disappointing outdoor lighting fails for predictable reasons. Fixtures are too bright, too blue, too evenly spaced, or aimed into the neighbor's bedroom window. The landscape lighting design guidelines below are the working rules that professional designers apply on every project, adapted for the live oaks, limestone, and Hill Country terrain that define Austin properties. They are not rigid laws, but when a yard looks effortlessly good at night, you can usually trace it back to these principles. Austin Landscape Lighting has applied them across more than 500 installations, and this guide shares them so you can evaluate any design, whether you build it yourself or hire it out.
Guideline 1: Light the Destination, Not the Fixture
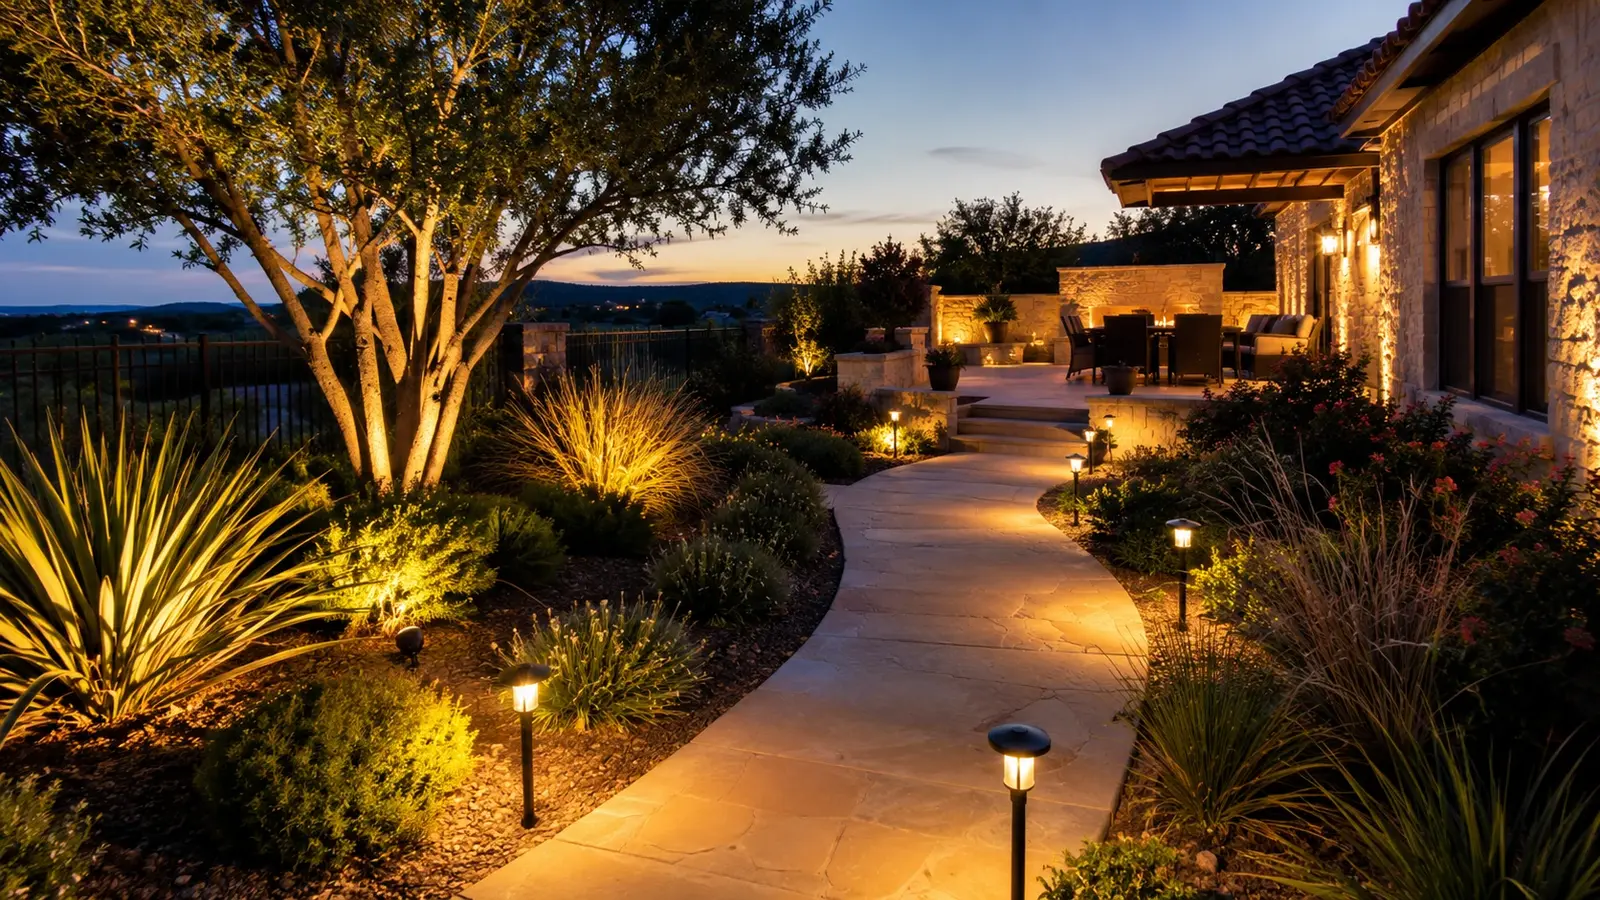
The most important rule is also the one most often broken. The eye should land on an illuminated tree trunk, a textured stone wall, or a safe walking surface, never on a bright glowing fixture. In practice this means choosing fixtures with deep shrouds and glare guards, aiming beams away from sightlines, and favoring concealed placement behind shrubs, under eaves, or inside tree canopies.
When you walk a finished project, the test is simple. Stand at the street, the front door, and the main patio seat. If you can see any LED source directly, that fixture needs a longer shroud, a lower aim, or a new position.
Guideline 2: Standardize on 2700K Warm White
Color temperature sets the mood of the whole property, and consistency matters more than the exact number. For residential work, 2700K warm white is the default. It flatters Austin stone, cedar, brick, and foliage, and it reads as inviting rather than clinical. A 3000K lamp is acceptable for modern architecture with gray stucco or steel, and some designers use 4000K sparingly on blue-green plants like agave or Texas sage to make them pop, but mixing temperatures without intent makes a yard look patched together.
Avoid 5000K and above for anything residential. That is the color of a parking lot. Our color temperature guide shows side-by-side comparisons on common Austin materials.
Guideline 3: Match Beam Spread to the Target
Low-voltage LED lamps come in standard spreads, and selecting the right one is half of good aiming. The ranges below are a reliable starting point.
15 degree spot
Tall, narrow targets. A single cedar elm trunk, a columnar cypress, a flagpole, or a chimney. The tight beam carries 30 to 40 feet before it loses punch.
30 to 38 degree flood
The workhorse for most uplighting. A mature live oak trunk with a spreading canopy, a two-story facade column, a specimen yaupon. Enough spread to cover the trunk, enough intensity to reach the first branches.
45 to 60 degree wide flood
Broad surfaces. Washing a limestone wall from 4 to 6 feet out, lighting a wide hedge, or filling a garden bed with soft ambient light. Lower intensity per square foot but even coverage.
A useful habit is to buy fixtures that accept interchangeable MR16 or similar lamps so spreads can be changed after the first night test without digging anything up.
Guideline 4: Layer Three Types of Light
A yard with only one layer of light looks flat.
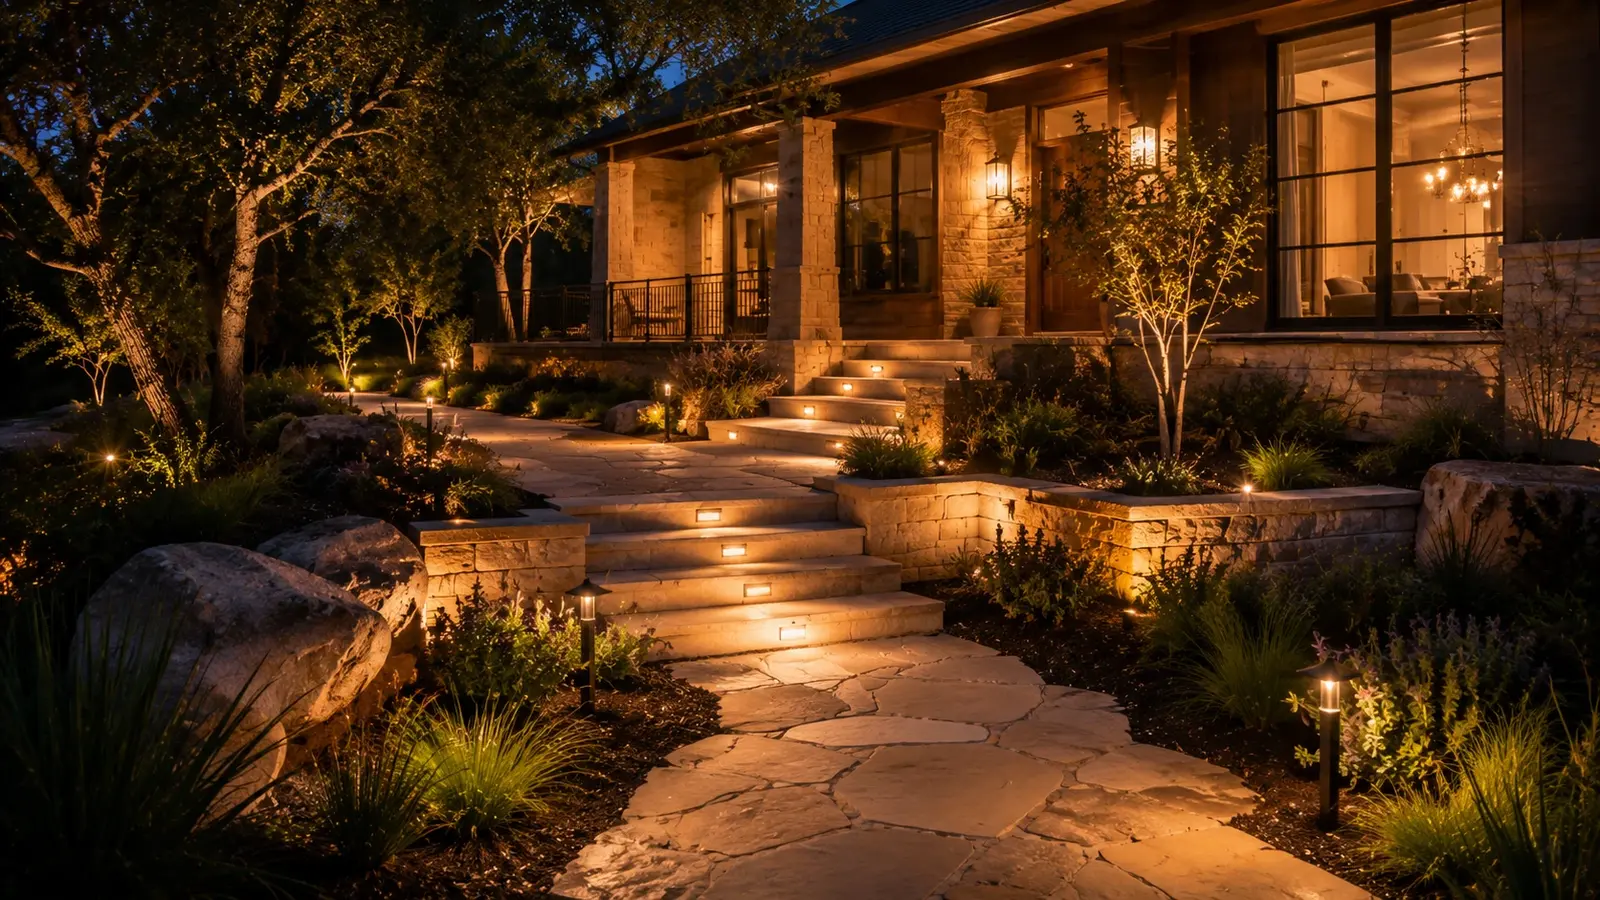
Accent light is the drama: uplights on trees, grazing on stone, silhouetting a specimen plant against a wall. Task light is the function: path lights, step lights, and downlights over grills and doors. Ambient light is the glue: soft moonlighting from high in a tree canopy, a low wash on a hedge, or a dim glow across a lawn that keeps the dark areas from feeling like holes.
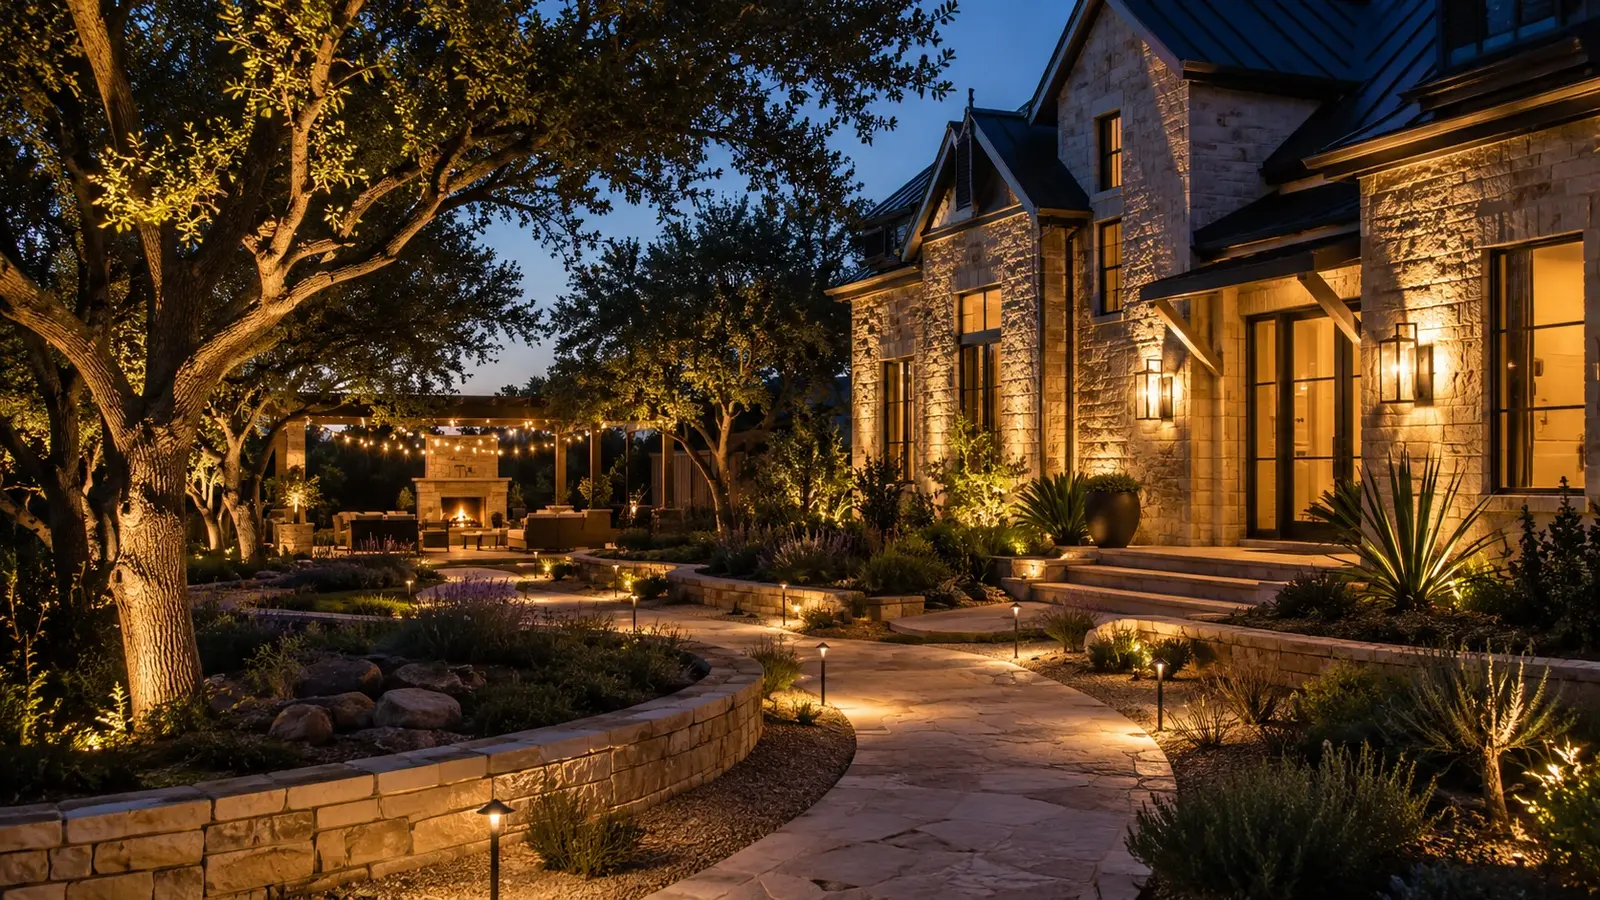
A common mistake in Austin yards is loading up on accent uplights because they are satisfying, then wondering why the property feels like a stage set. Adding two or three moonlighting fixtures 20 to 30 feet up in a live oak, aimed down through the branches with a 60 degree spread, fills the space with dappled light and ties the composition together.
Guideline 5: Space Path Lights for Pools of Light, Not Runways
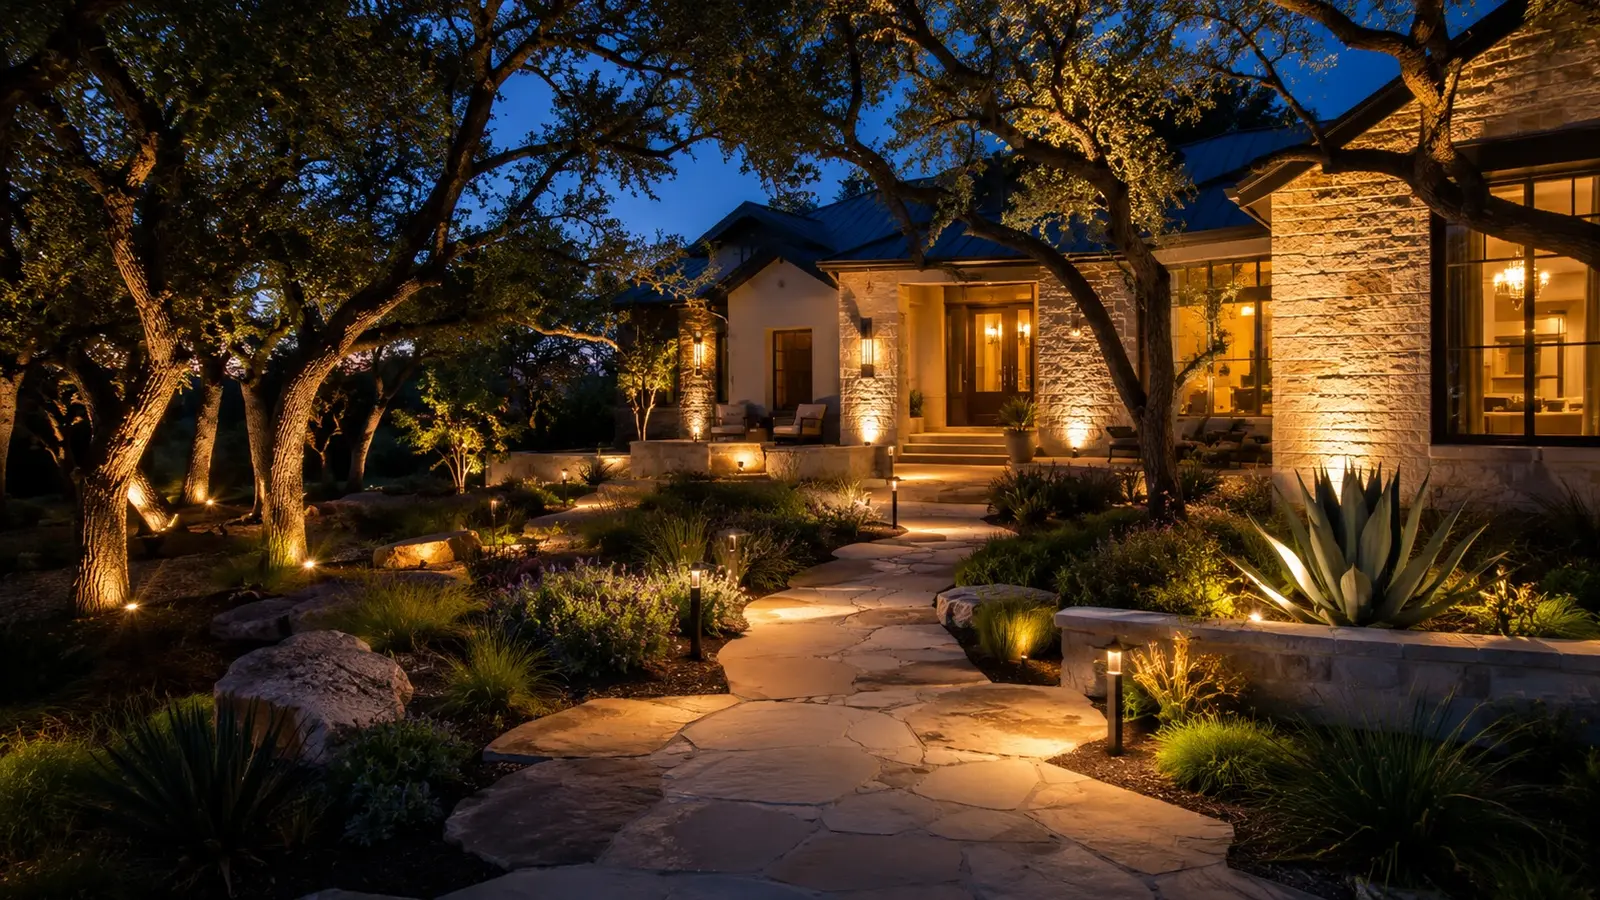
Path lights should be placed every 6 to 8 feet, staggered on alternate sides of the walk, and set 12 to 18 inches back from the edge so the hat of the fixture is not kicked or run over by a mower. Fixtures placed in a straight line at equal intervals on one side create the airport runway look that gives landscape lighting a bad name. Fewer, well-placed fixtures that overlap at the edges of their light pools almost always read better than more.
Fixture height matters too. An 18 to 22 inch path light suits most residential walks. In beds with Texas sage or dwarf yaupon that grow 2 to 3 feet, plan for the plants to engulf short fixtures within two seasons. For step-by-step spacing on your own walk, see how many landscape lights do I need.
Guideline 6: Respect Voltage Drop and Transformer Headroom
A 12V system loses voltage along the cable. If a fixture at the end of a 150-foot run receives 9V, it will be visibly dimmer than one near the transformer, even with LEDs that tolerate a range. The rules that keep this in check are straightforward.
Size the transformer so the total fixture wattage uses no more than 80 percent of its rating. That 20 percent headroom covers inrush, future additions, and heat. A system with 14 fixtures at 5 watts each totals 70 watts, so a 100 watt transformer is appropriate rather than a 75 watt unit at its limit.
Keep each cable run under about 100 feet on 12-gauge wire for loads up to 100 watts, or step up to 10-gauge for longer runs. Use a hub or T-method layout so fixtures branch from a central point instead of daisy-chaining in a long line. On multi-tap transformers, use the 13V or 14V tap for distant runs so fixtures receive close to 12V after the drop. Our transformer calculator works through these numbers for a specific layout.
| Design element | Guideline | Austin-specific note |
|---|---|---|
| Color temperature | 2700K warm white, consistent across the property | Flatters limestone, cedar, and brick common in local construction |
| Path light spacing | Every 6 to 8 ft, staggered, 12 to 18 in off the edge | Allow for fast-growing Texas sage and yaupon in beds |
| Tree uplight spread | 30 to 38 degree flood, 400 to 900 lumens | Live oaks often need two fixtures for a wide canopy |
| Wall grazing distance | 8 to 12 in from the wall, aimed up | Austin stone and chopped limestone show deep texture |
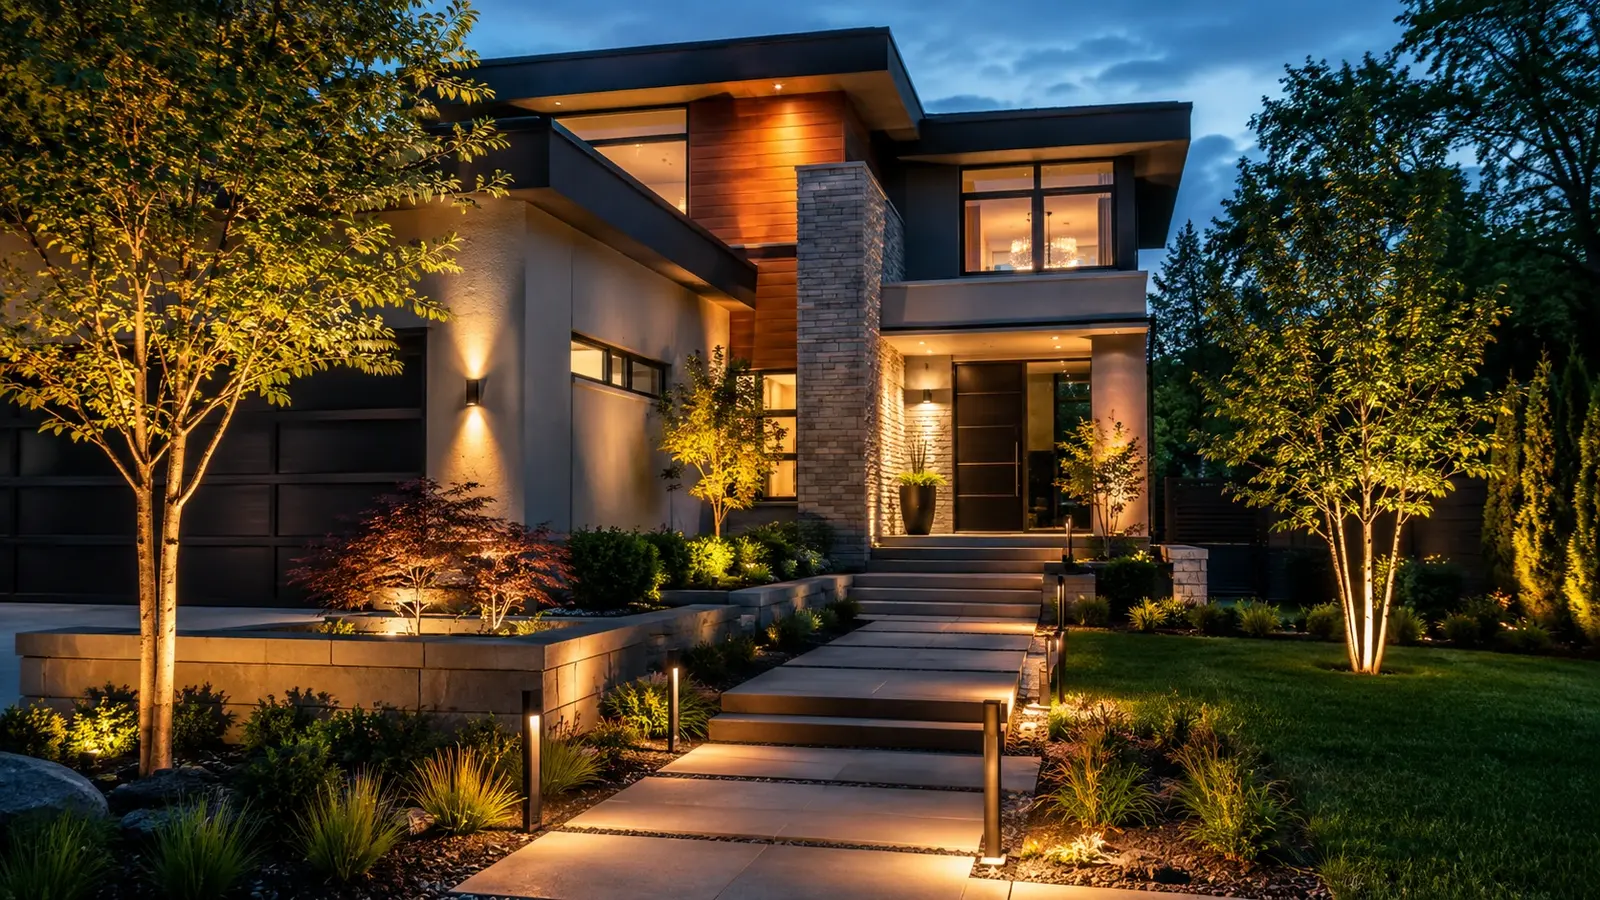
| Wall washing distance | 4 to 6 ft from the wall, 60 degree spread | Use on smooth stucco where grazing would reveal flaws |
| Moonlighting height | 20 to 30 ft up, aimed down, 60 degree spread | Mature live oaks and pecans are ideal hosts |
| Transformer load | 80 percent of rating maximum | Summer heat argues for extra headroom |
| Cable run | Under 100 ft on 12-gauge per 100 W | Long Hill Country lots may need a second transformer |
| Shielding | Full cutoff or shrouded, no light above horizontal | Dark-sky friendly, and most HOAs ask for it |
| Fixture material | Solid brass or copper | Survives 100 degree summers and deer traffic |
Guideline 7: Choose Materials for a Twenty-Year Life
Austin summers are hard on hardware. Powder-coated aluminum fixtures chalk, fade, and eventually corrode, especially where sprinklers hit them with mineral-heavy water. Plastic fixtures turn brittle. Solid brass and copper develop a patina and keep working for two decades or more. The price difference per fixture is real, but spread across a 20-year service life it disappears.
The same logic applies underground. Use direct-burial cable rated for the application, gel-filled waterproof connectors rather than pierce-type clamps, and a transformer with a stainless or powder-coated steel housing mounted at least 12 inches above grade. These details are what a professional design includes by default and what budget kits leave out.
Guideline 8: Design for the Site, Not the Catalog
Every Austin property brings a few site conditions that should shape the design.
Live oaks and cedar elms
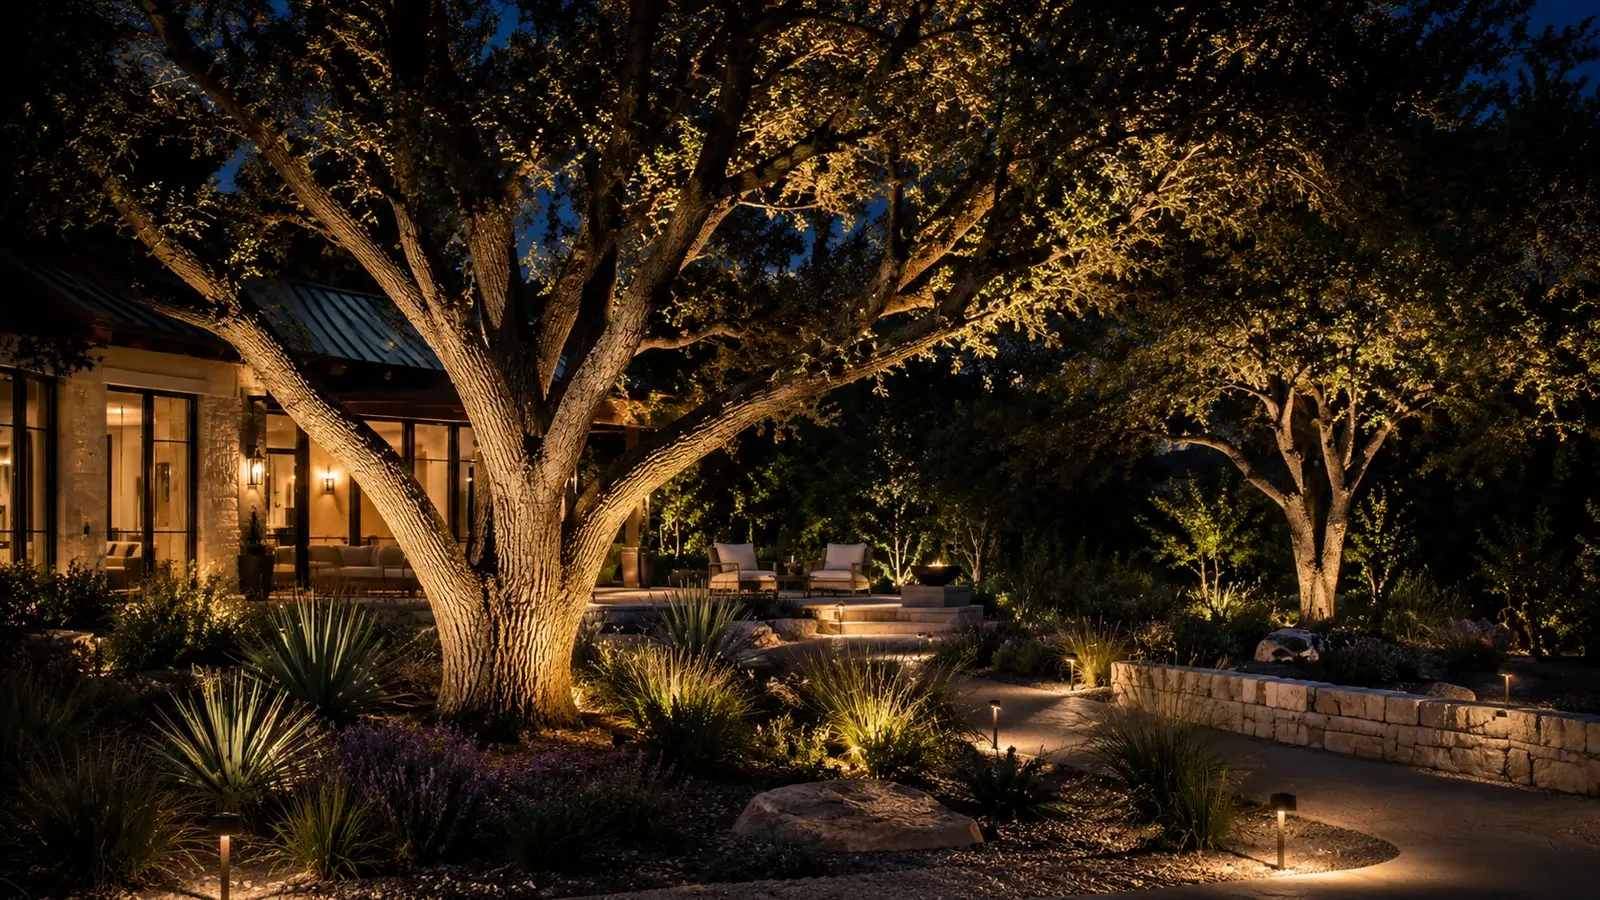
Live oaks have low, spreading canopies and multiple trunks. One uplight rarely does the job. Two or three fixtures placed at the drip line edge, cross-lighting the trunks from different angles, reveal the structure and eliminate the flat look of a single beam. Cedar elms are taller and narrower, well suited to a single 15 to 30 degree spot.
Limestone and Austin stone
Grazing, with the fixture set 8 to 12 inches from the base and aimed straight up, pulls every shadow out of chopped limestone. The same technique on smooth stucco shows every trowel mark, so switch to washing from 4 to 6 feet out for flat surfaces.
Hill Country slopes
Grade changes mean steps and retaining walls, which mean safety lighting is not optional. Recessed step lights or small downlights under each cap stone should be the first fixtures placed.
Deer and wildlife
In neighborhoods with regular deer traffic, choose fixtures on long ground stakes, avoid delicate stems, and keep path light hats low and sturdy. Deer bed down in warm beds and knock things over.
Guideline 9: Be a Good Neighbor and Dark-Sky Friendly
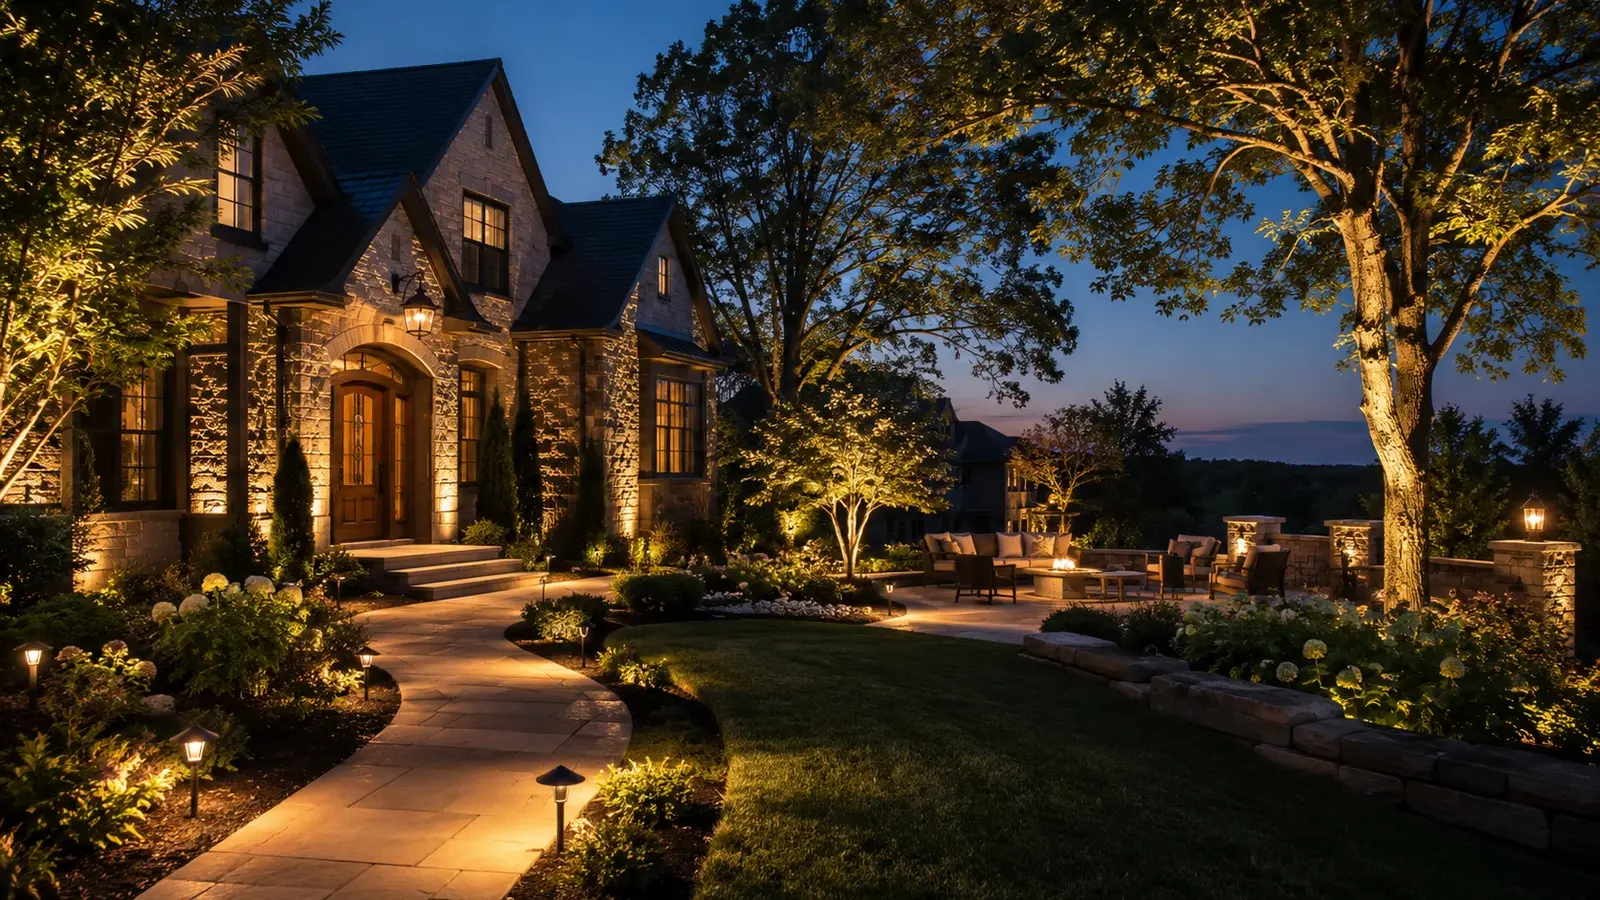
Austin has a long dark-sky tradition, and several Central Texas communities, including Dripping Springs and parts of Travis County, have formal ordinances. Even where rules do not apply, the principles make for better lighting. Aim fixtures down or at a target so no light escapes above horizontal. Use shrouds and glare guards. Keep lumen levels to what the task requires rather than what the fixture can produce. Run the system on an astronomical timer or app control so it shuts off at a reasonable hour rather than burning until dawn.
HOAs across Austin increasingly write these points into their guidelines, and a design that follows them rarely draws a complaint. App-based controls make scheduling and dimming simple enough that most clients run the front yard until 11 p.m. and dim the back to a low security level after that.
These landscape lighting design guidelines are the backbone of every project Austin Landscape Lighting completes, from a six-fixture front walk to a full estate in Westlake. If you would like a professional to apply them to your property, we offer a free on-site consultation with a night demonstration so you can see the design before committing. Call +1 (281) 704-7210 or request your consultation online.
Frequently asked questions
What color temperature is best for landscape lighting?
2700K warm white is the residential standard and the right default for Austin homes. It flatters limestone, brick, cedar, and most foliage and reads as inviting rather than harsh. 3000K suits some modern architecture, and 4000K can highlight blue-green plants like agave in small doses, but keep the whole property consistent and avoid anything 5000K or higher.
How far apart should landscape path lights be placed?
Space path lights every 6 to 8 feet, staggered on alternate sides of the walkway, and set 12 to 18 inches back from the edge. Pools of light should just overlap at their edges. Evenly spaced fixtures in a straight line on one side create a runway look, so fewer, deliberately placed fixtures almost always look better than more.
How big a transformer do I need for landscape lighting?
Add up the wattage of every fixture, then choose a transformer rated so that total uses no more than 80 percent of its capacity. The 20 percent headroom covers inrush current, heat, and future additions. For example, 14 LED fixtures at 5 watts each total 70 watts, which calls for a 100 watt transformer rather than a 75 watt unit.
What does dark-sky friendly landscape lighting mean?
Dark-sky friendly lighting keeps light on its target and out of the sky. Fixtures are shielded or shrouded so nothing escapes above horizontal, lumen levels match the task instead of maxing out, warm 2700K color is used, and timers shut the system down at a reasonable hour. Several Central Texas communities have ordinances, and many Austin HOAs require these practices.

Written by the design team at Austin Landscape Lighting. We design, install and maintain low-voltage LED landscape lighting across Austin and the Hill Country. Questions about your property? Book a free dusk consultation or call +1 (281) 704-7210.