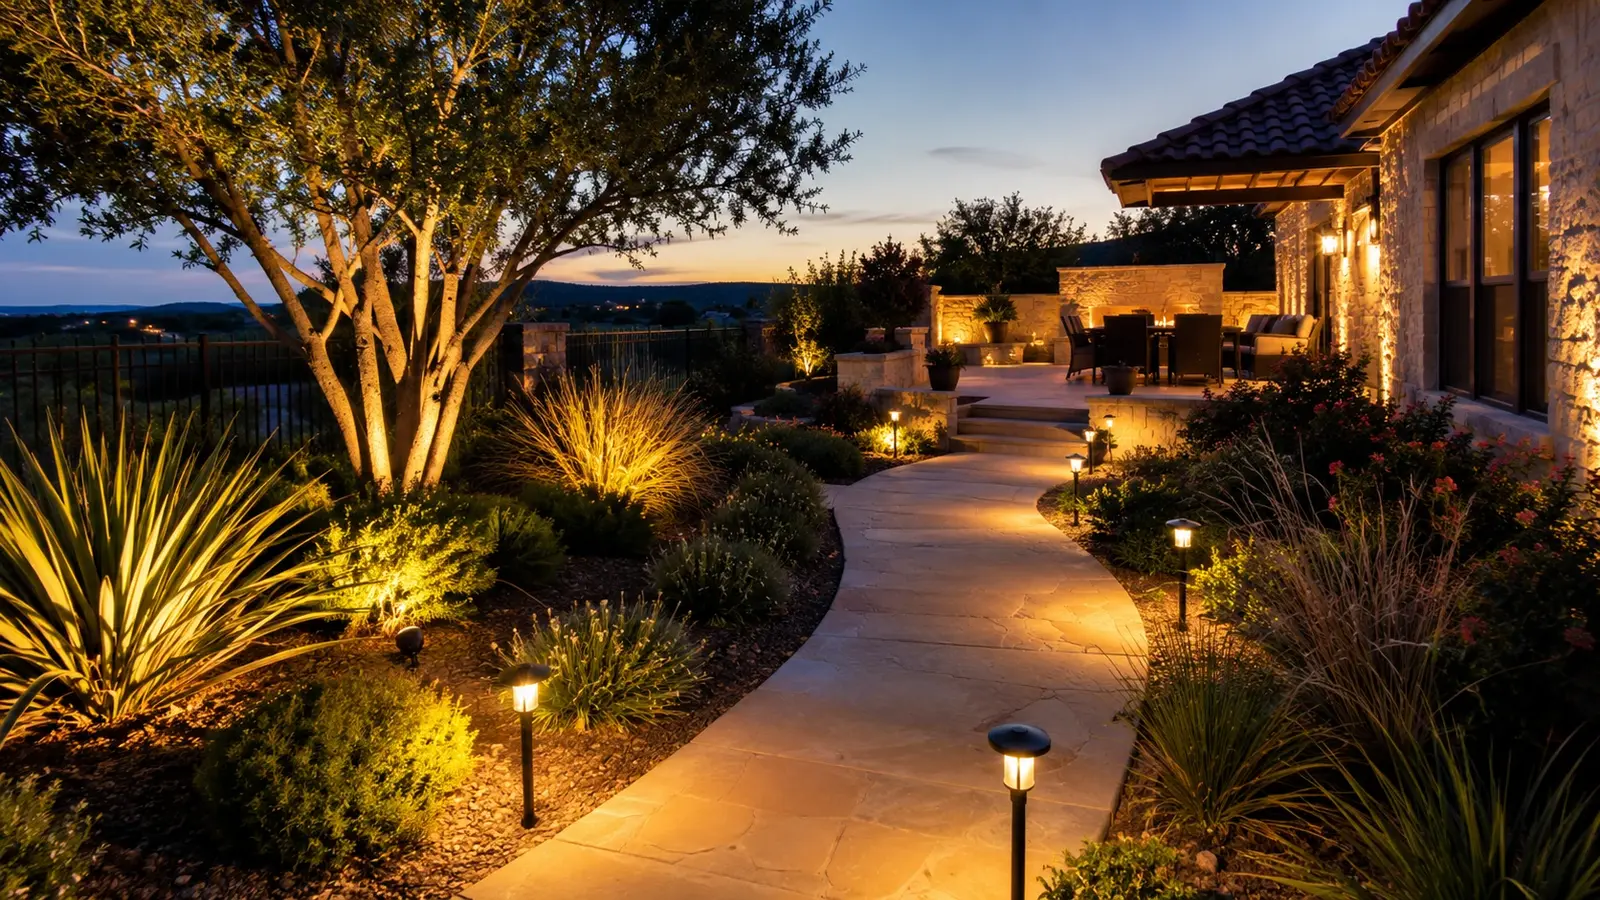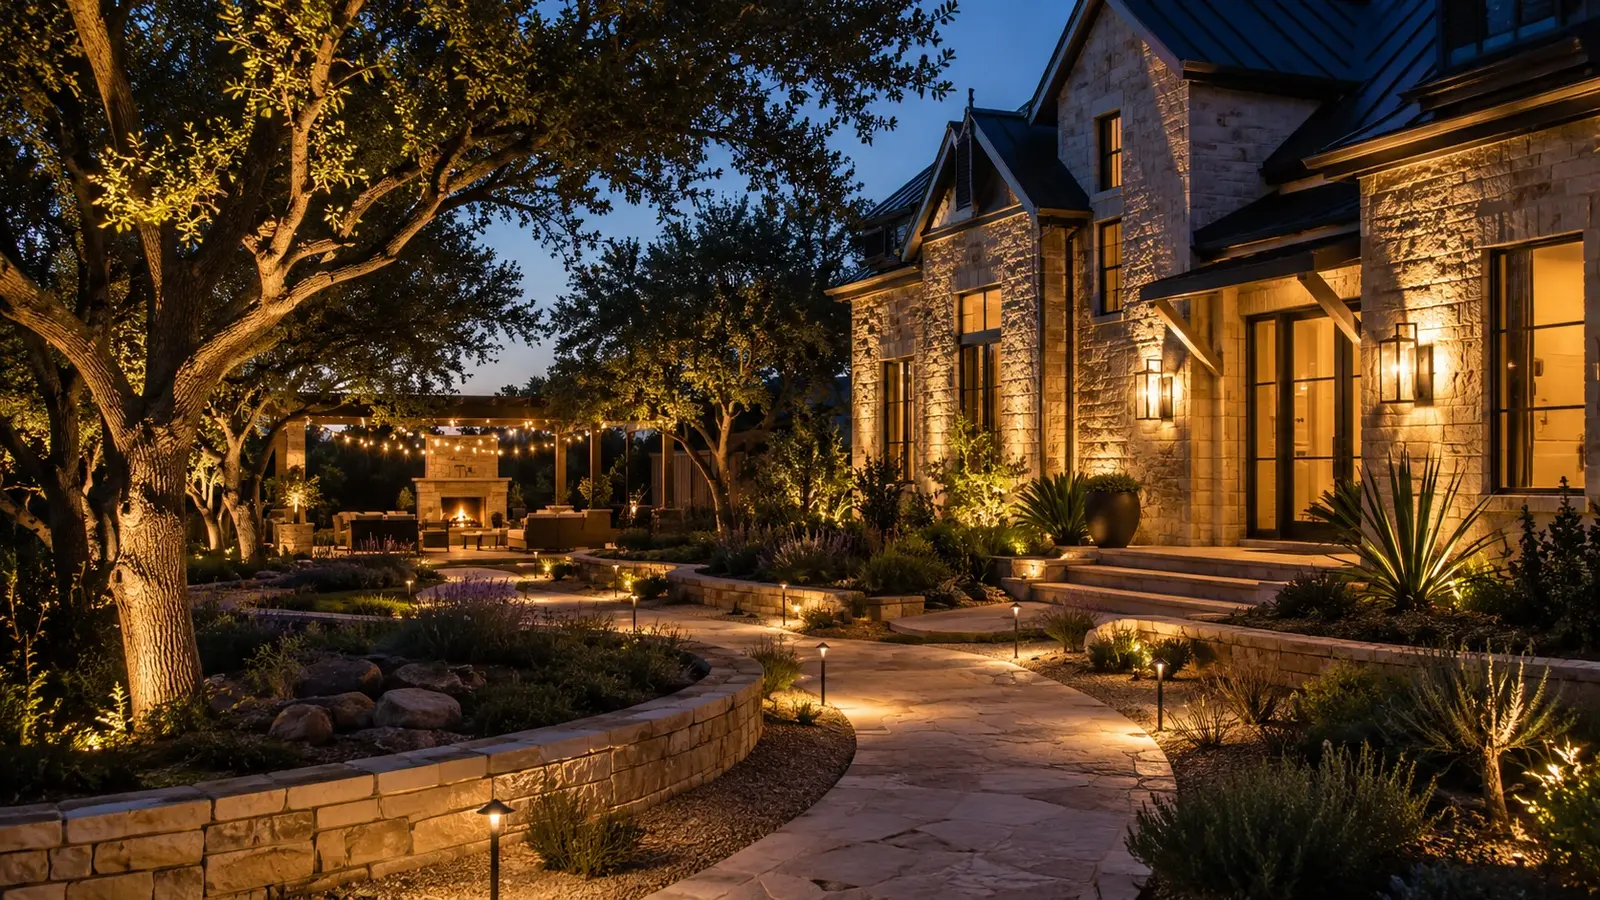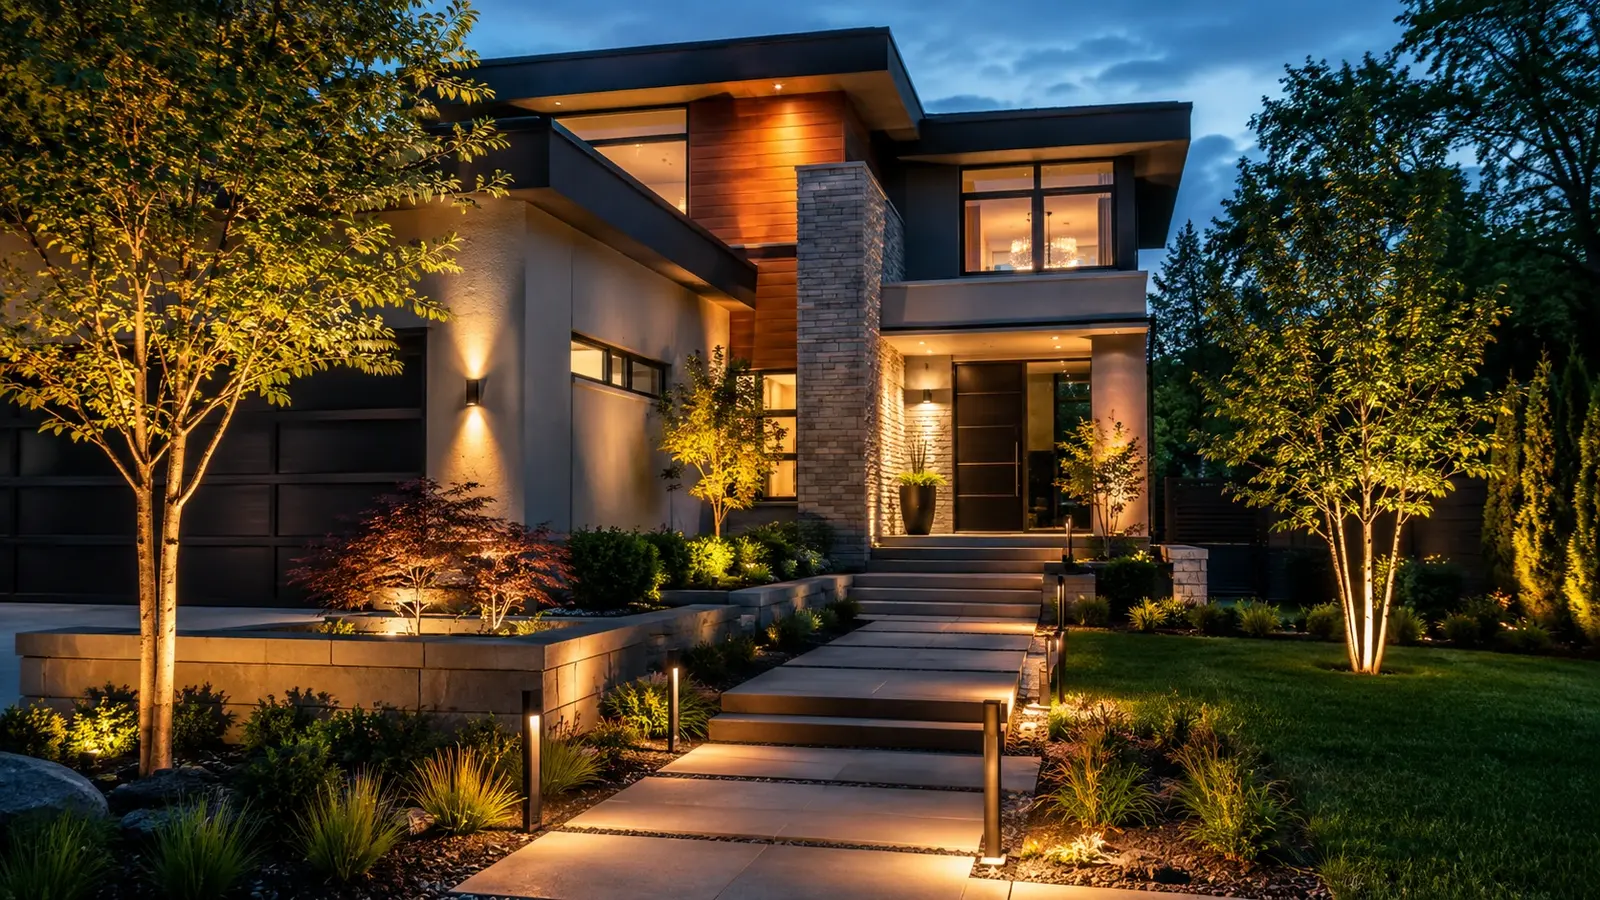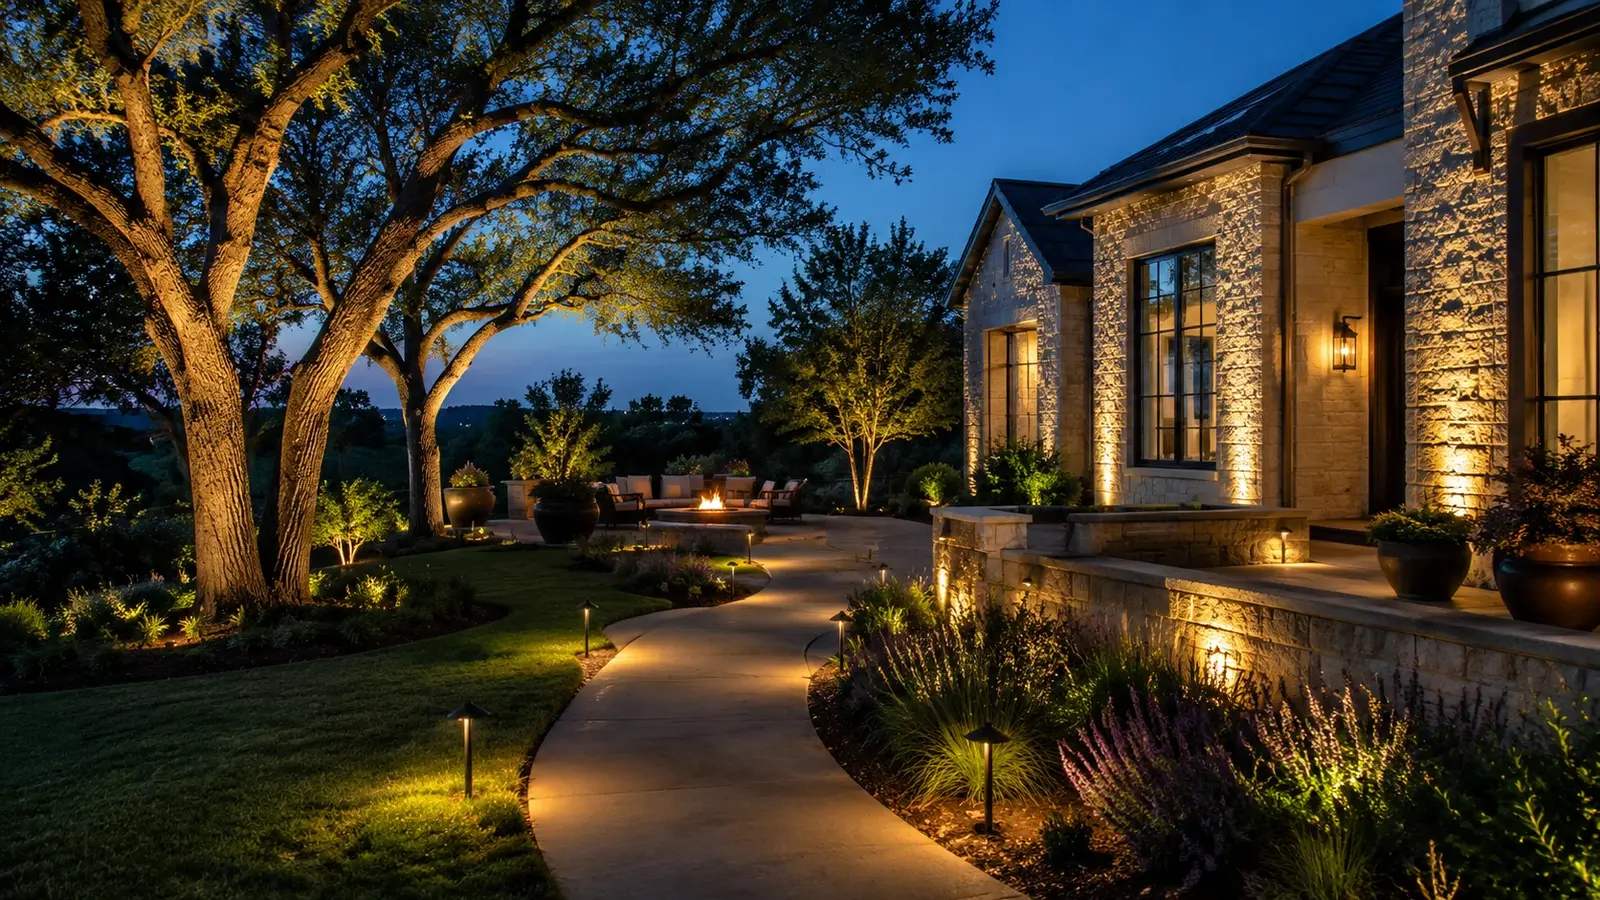
If you want to know how to design landscape lighting that looks intentional rather than scattered, start by resisting the urge to buy fixtures. Design is a sequence: observe the property in the dark, decide what deserves attention, pick the techniques that suit each target, group fixtures into zones, size the power supply, select hardware, and then test everything at night before a single cable is buried. This is the process Austin Landscape Lighting follows on every project, from a modest front walk in Crestview to a hillside estate in Barton Creek. Follow the same seven steps and the result will hold together, whether you install it yourself or hand the plan to a contractor.
Step 1: Walk the Property at Night
Design begins in darkness. Wait until at least an hour after sunset, turn off the porch lights, and walk the property with a flashlight and a notepad. Start at the street and approach the house the way a visitor would. Then walk the side yards, the back patio, and any paths you use regularly.
Note three things. First, where is it genuinely unsafe? Steps, grade changes, the gap between the driveway and the front door, the route to the trash cans. Second, what do you miss seeing? The live oak you love in daylight disappears completely at night, and the limestone facade becomes a gray blur. Third, what already works? Existing porch lights, neighbor spill, and streetlights set a baseline that your design must blend with.
Austin yards often surprise people during this walk. Mature tree canopies make front yards far darker than expected, and Hill Country lots have slopes that feel much steeper at night. Spend 30 minutes and take photos with your phone's night mode. They become your base map.
Step 2: Choose Focal Points and a Hierarchy
A good design has one or two primary focal points, a handful of secondary elements, and everything else kept quiet. Trying to light everything equally produces a flat, overexposed yard. Choose the hero. On most Austin properties it is a specimen tree, the front entry, or a stone facade.
Build the hierarchy from there. A typical front yard might rank as follows: the live oak canopy first, the entry door and columns second, the walkway third, and foundation plantings last at a low ambient level. Each tier gets progressively less light. A rough rule is that the brightest element should be two to three times the intensity of the secondary tier, and the ambient layer should be a fraction of that.
Mark focal points on your photos and note the view angles that matter most, usually the street approach and the main patio seat.
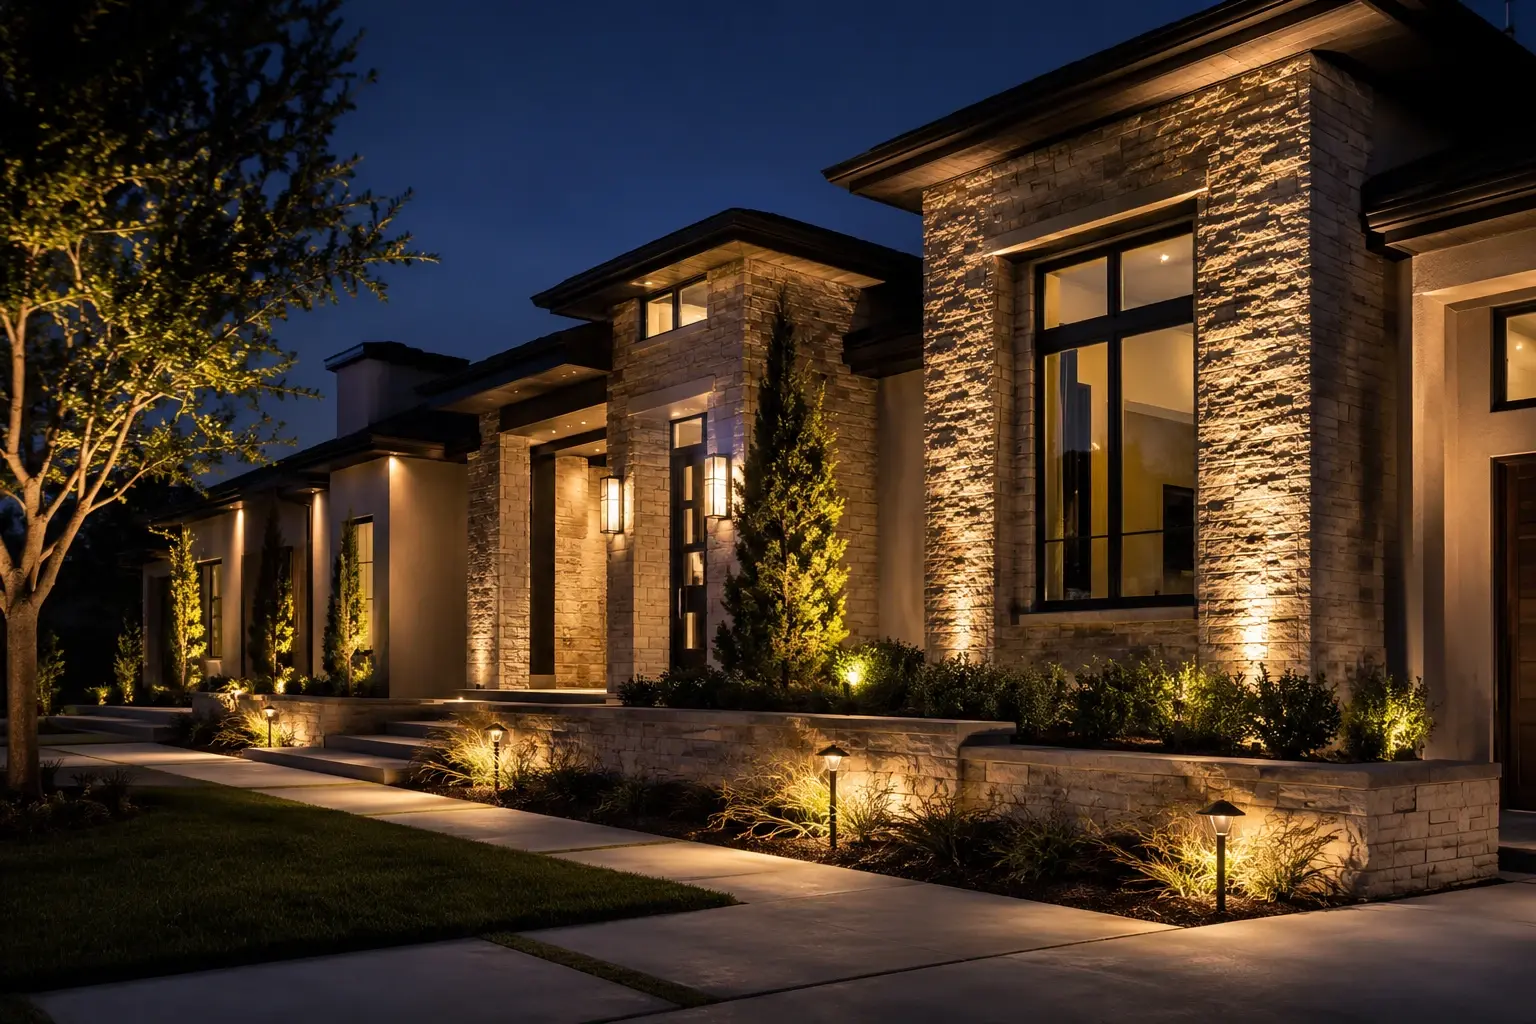
Step 3: Assign a Technique to Each Target
Once you know what to light, decide how. Each technique produces a different effect, and matching the right one to each target is where design becomes craft.
Uplighting
Fixtures at ground level aimed up into a tree, column, or wall. The default for trees. Use a 30 to 38 degree flood at 400 to 900 lumens for a live oak trunk, a 15 degree spot for a tall cedar elm or cypress. Place the fixture 2 to 4 feet from the trunk, angled slightly toward it.
Cross-lighting
Two uplights on a single subject from different angles. Essential for multi-trunk live oaks, where a single beam flattens the structure. Also useful on statues and large specimen plants.
Grazing
A fixture set 8 to 12 inches from a textured wall, aimed straight up. On chopped limestone or Austin stone, grazing creates dramatic shadows in every joint and face. Avoid it on smooth stucco, where it exaggerates imperfections.
Washing
A wide 60 degree flood placed 4 to 6 feet from a wall or hedge for even, soft coverage. The right call for flat surfaces, large hedges, and backdrops.
Silhouetting
A fixture placed behind a plant or object, aimed at the wall behind it, so the subject reads as a dark shape against a lit surface. Dramatic with agave, yucca, and ornamental grasses against a stone wall.
Moonlighting
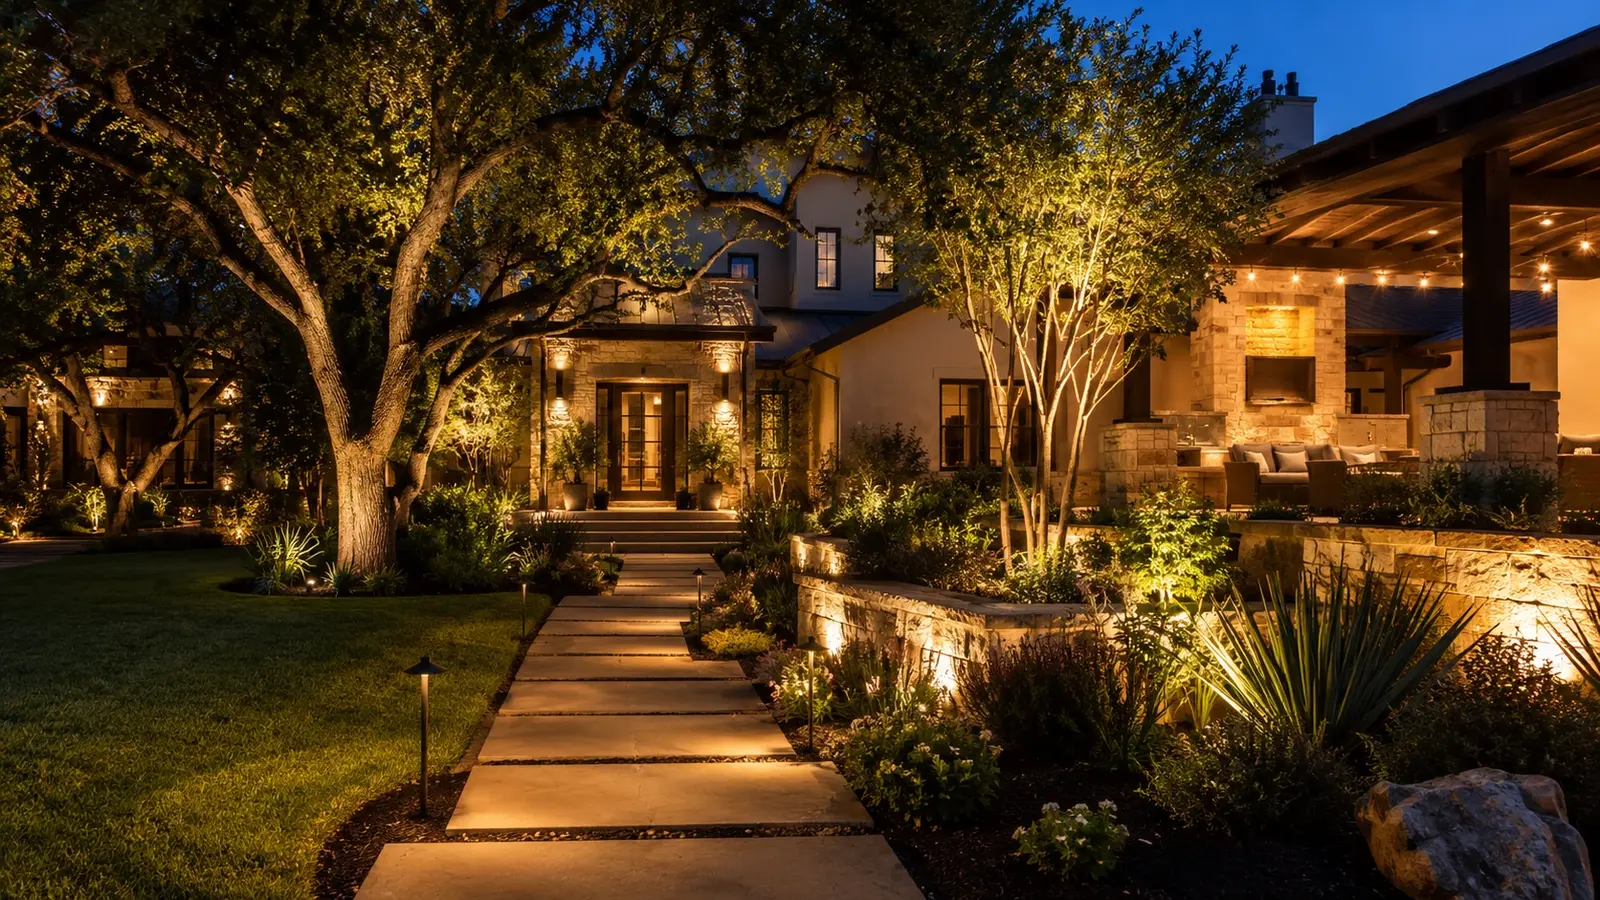
Fixtures mounted 20 to 30 feet up in a tree canopy, aimed down through the branches with a 60 degree spread. Produces soft, dappled light on the ground that mimics a full moon. Live oaks and pecans are ideal hosts. This is the best ambient layer available and the one most often omitted.
Path and step lighting
Path lights every 6 to 8 feet, staggered, 12 to 18 inches off the walk edge. Recessed step lights or small downlights under cap stones on every grade change.
Write the technique next to each target on your plan. The lighting visualizer lets you preview several of these effects on a photo of your own home.
Step 4: Plan Zones and Controls
Zones group fixtures that should operate together. At minimum, separate the front yard from the back so each can run on its own schedule. Larger properties benefit from more granularity: front facade and trees, front path, side yard, patio and seating, pool, and back trees as separate zones.
Zoning drives the control plan. A single-zone system can run on a transformer with a built-in photocell and timer, on at dusk and off at a set hour. Multi-zone systems call for either multiple transformers or a smart controller that handles each zone independently. App-based controls add dimming and scenes, so the patio can be at full brightness for a dinner party and at 30 percent for a quiet evening, while the front yard shuts off at 11 p.m. every night regardless. Austin HOAs that specify lights-off times are easy to satisfy this way, and it keeps the design dark-sky friendly.
Sketch the zones on your plan and note where the transformer or transformers will mount. Each needs a GFCI outlet, a spot at least 12 inches above grade, and ideally some shelter from direct afternoon sun.
Step 5: Count Fixtures and Size the Transformer
With techniques and zones assigned, count fixtures and total the wattage. LED landscape lamps typically draw 3 to 7 watts for path lights and 5 to 12 watts for uplights. A sample front-yard plan might look like this.
| Target | Technique | Fixtures | Watts each | Zone total |
|---|---|---|---|---|
| Live oak, multi-trunk | Cross-lighting, 36 degree | 3 | 9 | 27 W |
| Entry columns | Uplighting, 15 degree | 2 | 6 | 12 W |
| Limestone facade | Grazing, 60 degree | 4 | 6 | 24 W |
| Front walkway, 40 ft | Path lights, staggered | 6 | 4 | 24 W |
| Front steps | Recessed step lights | 3 | 2 | 6 W |
| Canopy ambient | Moonlighting, 60 degree | 2 | 7 | 14 W |
| Total connected load | 20 | 107 W | ||
| Transformer with 20 percent headroom | 150 W unit |
The transformer should be sized so the connected load uses no more than 80 percent of its rating. The 107 watt plan above pushes a 120 or 150 watt transformer into the right range, and 150 watts leaves room to add a few fixtures later. Multi-tap transformers with 12V, 13V, 14V, and 15V outputs let you compensate for voltage drop on long runs, which matters on Hill Country lots where a back-tree zone may be 120 feet from the power source. Run the numbers for your own plan with the fixture calculator and transformer calculator.
Step 6: Plan the Wiring Layout
Voltage drop is the silent design killer. Cable has resistance, and on a 12V system a fixture at the far end of a long daisy chain can receive 9V or less, making it visibly dimmer. Three layout rules prevent this.
Use a hub or T-method rather than a single long chain. From the transformer, run a heavy 10 or 12-gauge trunk line to a central hub near each cluster of fixtures, then short 16-gauge leads to each fixture. Every fixture in a cluster then sees nearly the same voltage.
Keep runs short. As a rule of thumb, 12-gauge cable carries 100 watts about 100 feet before drop becomes noticeable. Longer than that, step up to 10-gauge or add a second transformer closer to the load.
Use gel-filled waterproof connectors at every splice, never pierce-type clamps, and bury cable 6 inches deep in beds and deeper where it crosses lawn that gets aerated.
Step 7: Choose Fixtures That Will Last
Only now does hardware enter the picture. Choose solid brass or copper fixtures. Austin summers reach 100 degrees for weeks, sprinklers deposit mineral scale, and deer wander through beds in Northwest Austin and the Hill Country edges. Powder-coated aluminum chalks and corrodes within a few years. Brass develops a patina and keeps working for 20 or more.
Select fixtures with interchangeable lamps so beam spreads can be adjusted after the night test. Specify 2700K warm white for every lamp unless there is a deliberate reason to vary. Choose shrouded uplights with glare guards, path lights with hats that fully conceal the source, and step lights with louvers. All of these support dark-sky friendly design and keep light where it belongs.
For the transformer, a stainless or heavy powder-coated steel case, a magnetic core, multi-tap outputs, and a built-in or compatible timer. Avoid plastic-cased units.
Step 8: Stake, Test at Night, and Adjust
Set every fixture in position with cable laid on the surface and connected but not buried. Wait for full dark. Walk the property from every important vantage point: the street, the driveway, the front door, each window, the patio seat.
Check for glare first. Any visible LED source means a fixture needs a longer shroud, a lower aim, or a new spot. Check hierarchy next. Does the hero read as the hero? Are the secondary elements quieter? Are there dark holes between zones that need a touch of ambient fill? Swap lamp spreads where a beam is too tight or too wide. Move path lights a foot or two to even out pools. Adjust uplight angles on the live oak until the canopy glows without hot spots on the trunk.
Only when the night test is satisfying should cable be buried and fixtures set permanently. Plan a second look two or three weeks later. Plants settle, the eye adjusts, and a few small refinements almost always emerge.
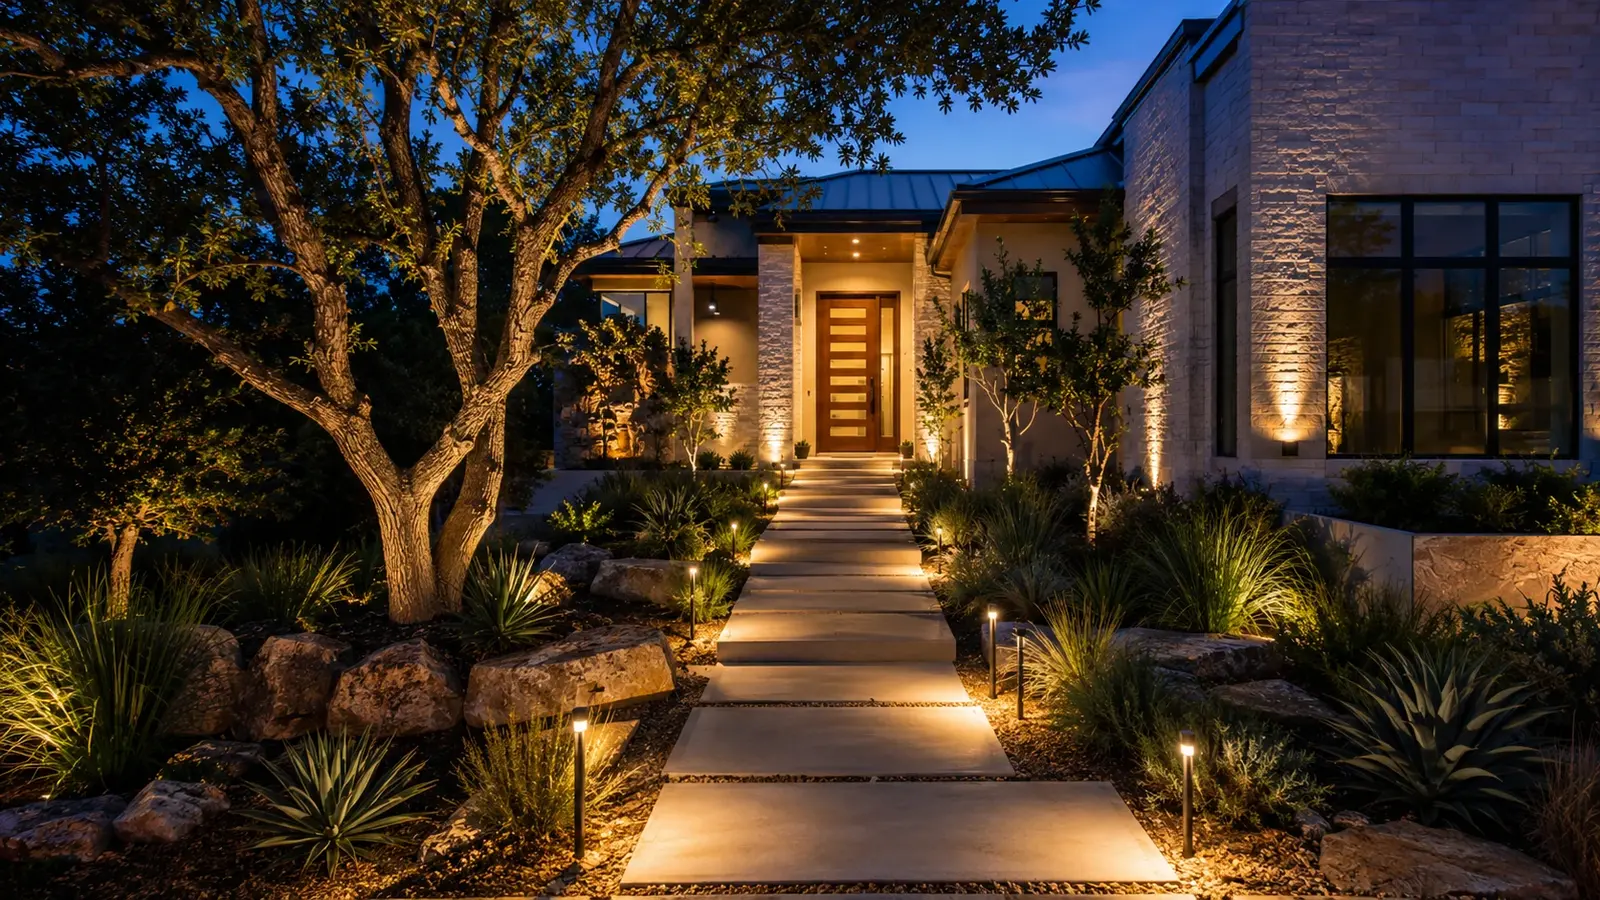
Knowing how to design landscape lighting well takes practice, and most homeowners find the night testing and wiring layout are where a professional earns their fee. Austin Landscape Lighting offers a free on-site consultation that includes a night demonstration with actual fixtures, so you see the design before deciding. Most installations are completed in a single day and backed by a 2-year workmanship warranty. Call +1 (281) 704-7210 or request a consultation online to get started.
Frequently asked questions
What is the first step in designing landscape lighting?
Walk the property at night, at least an hour after sunset with the porch lights off. Note where footing is unsafe, which features disappear in the dark, and what existing light already affects the scene. Take night-mode photos to use as a base map. This observation step shapes every later decision and is the one most homeowners skip.
How do I decide which landscape lighting technique to use?
Match the technique to the target. Uplight trees and columns, cross-light multi-trunk live oaks, graze textured limestone from 8 to 12 inches away, wash smooth walls and hedges from 4 to 6 feet, silhouette sculptural plants against a lit wall, and moonlight from high in a canopy for ambient fill. Path and step lights handle safety on walks and grade changes.
How do I size a transformer for my landscape lighting design?
Total the wattage of every fixture, then choose a transformer so that load is no more than 80 percent of its rating. A 107 watt plan calls for a 150 watt transformer, which also leaves room for additions. Use a multi-tap model with 13V to 15V outputs to compensate for voltage drop on runs over 100 feet.
Why should I test landscape lighting at night before burying the cable?
Aim angles, beam spreads, and fixture positions almost always need adjustment once you see them in the dark from the street and the patio. With cable on the surface, moving a fixture or swapping a lamp takes a minute. After burial, every change means digging. A night test also catches glare and dark gaps that are invisible on paper.

Written by the design team at Austin Landscape Lighting. We design, install and maintain low-voltage LED landscape lighting across Austin and the Hill Country. Questions about your property? Book a free dusk consultation or call +1 (281) 704-7210.